

How to Paint a Garage Floor
This article is reprinted from this website, for more details, please refer to this blog.
{HINT: Check out Instagram for some sneak peeks!}
I will be sharing lots of garage organization posts over the next few weeks, but today we will be starting from the ground up and talking about how to paint a garage floor!
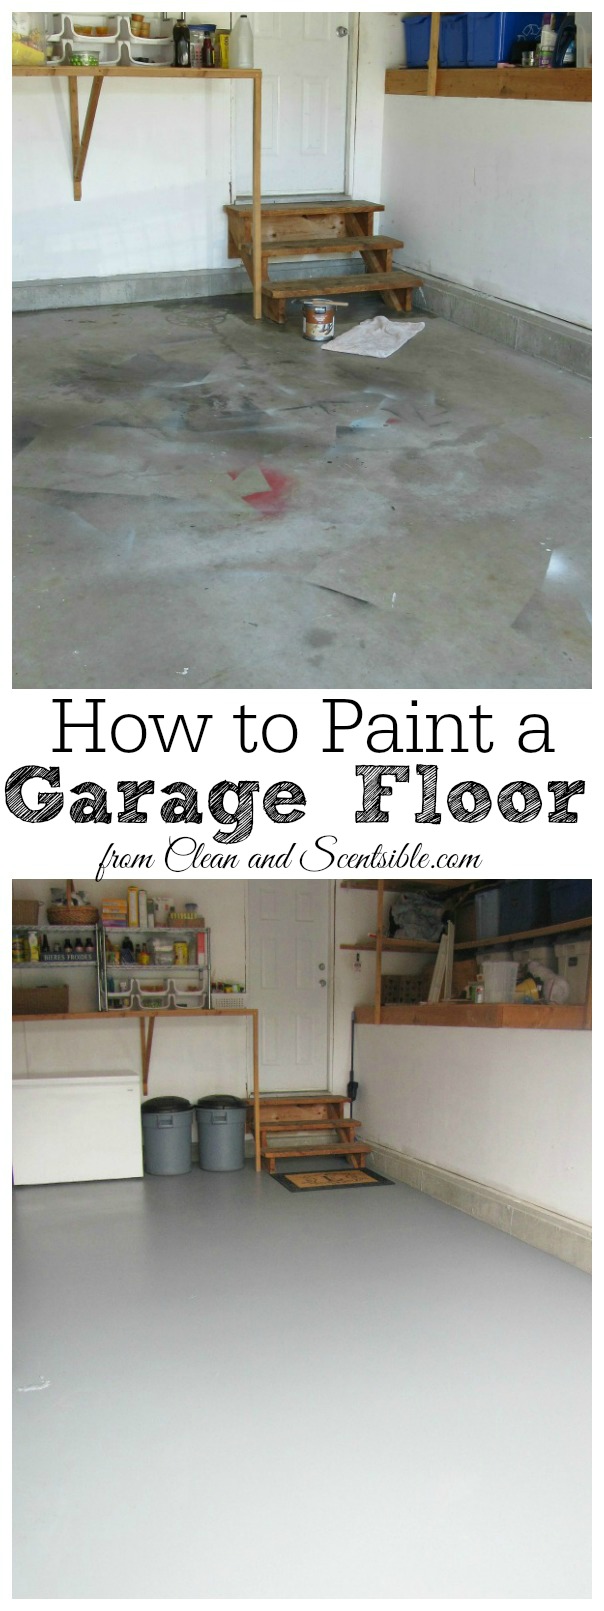
Our garage floor was really gross – it had oil spills, about 20 different colors of spray paint overflow {I have since come up with a better spray painting technique!}, and a bunch of miscellaneous stains. Even after we had given it a good cleaning, it still looked really dirty.
Painting your garage floor will instantly make your garage look cleaner and fresher and is a relatively easy and inexpensive transformation. Compared to plain concrete floors, painted floors will provide extra protection against mold and mildew and automobile fluids. They are also water-resistant, easier to clean, and will eliminate the dust that bare concrete floors produce. It’s a win-win!
There are basically two types of paint that you can use on your garage floors – latex acrylic paint or an epoxy paint. While the latex paint is a bit of a cheaper option in the short term, epoxy paint is more durable and will provide a better bond to the concrete making it more chip resitant. Typically, a latex paint should last you about 2 years while an epoxy paint should give you three to four years. We ended up using the Behr Concrete and Masonry Bonding Primer and Behr Premium1-Part Epoxy Concrete and Garage Floor Paint in Slate Gray and the whole process was surprisingly easy. 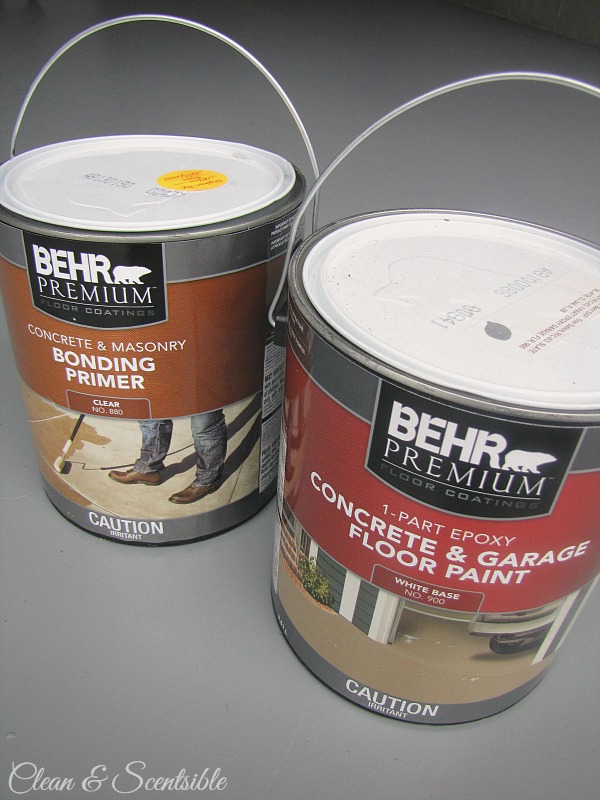
How to Paint a Garage Floor
1. Clean and Prep the Floor.
Concrete is very porous and will easily collect dirt and grime, so cleaning with a power washer or floor buffing machine is best. Do not skip this part!!! If your pressure washer will allow it, you can add a degreaser to the water as well to really get things cleaned. Allow to dry well!
For those of you that do not have access to a power washer, you can use a stiff-bristled scrubbing brush {on a broom handle} and a hose with a high pressure nozzle as an alternatve. You will just need to use a lot more elbow grease to really get that dirt out of there! Use either a degreaser, TSP, or laundry detergent for added cleaning power and, for extra dirty floors, allow the cleaner to sit for a few minutes before giving it a final scrubbing. Just make sure that you do not allow the cleaning solution to dry on the concrete!
**NOTE: We were starting with a bare concrete floor. If you have any old paints or sealers on your floor you will need to remove this first with a chemical stripper. **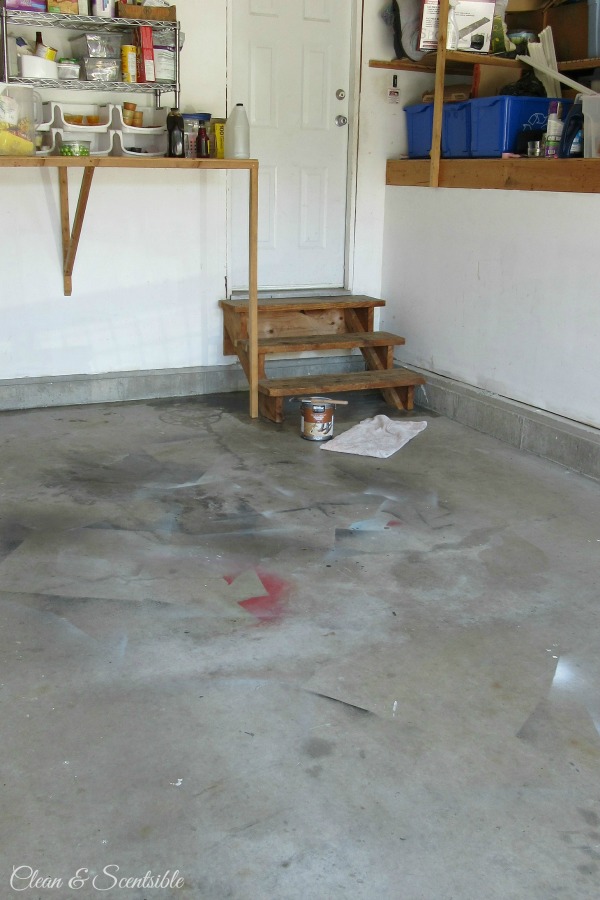
{I’m sad to say this is what it looked like AFTER it had been power washed!}
2. Fill in any cracks in the concrete.
There are various products on the market to help you fill in the cracks. For smaller cracks, you can use a concrete/mortar repair compound; however, you will need a concrete patch for thicker cracks or holes. If it is a deeper crack, you will need to fill the crack in layers allowing adequate dry time between layers {this can take a while!}. Wipe the access product off the crack with a wet rag or scraper to level it out and create a smooth surface. Be sure to read all of the manufacturer’s instructions on your repair product for recommended cure times before painting. Ours was supposed to be a week while some others recommended up to a month.
3. Etch the Floors
Depending on the surface of your concrete floors, you may need to etch the surface. {We didn’t have to do this part.} Etching basically opens up the pores of the concrete to allow the paint to absorb better. To test if your floor needs etching, drop a small amount of water on the floor and see how quickly it is absorbed. If it is absorbed quite quickly, you likely do not need to etch. If it tends to pool on the surface of the floor, using a commercial concrete etcher is recommended. Allow to dry thoroughly.
4. Apply a Bonding Primer.
The primer is a pre-treatment for porous concrete and is designed to promote the adhesion of the paint. We just used a paint brush to cut in on the edges around the garage and used a roller for the rest. It goes on a little milky so you can see where you are painting, but it dries clear. Let it set for at least 4 hours {and no longer than 30 days} before applying your paint.
5. Apply the 1-Part Epoxy Paint.
The paint went on really smoothly and covered well. As with the primer, we just cut around the edges using a brush and then rolled on the rest. It actually looked pretty good after just one coat but we did end up doing a second coat just to be safe. It was recommended that the second coat be applied in the opposite direction than the first coat {i.e. if the first coat was applied length wise, the second coat should be applied width wise}; however, due to the layout of our garage it was much easier to apply it lengthwise and we just did it that way for both coats. Although we were walking on the floor after about 24 hours, it is recommended to wait at least a week before driving on it.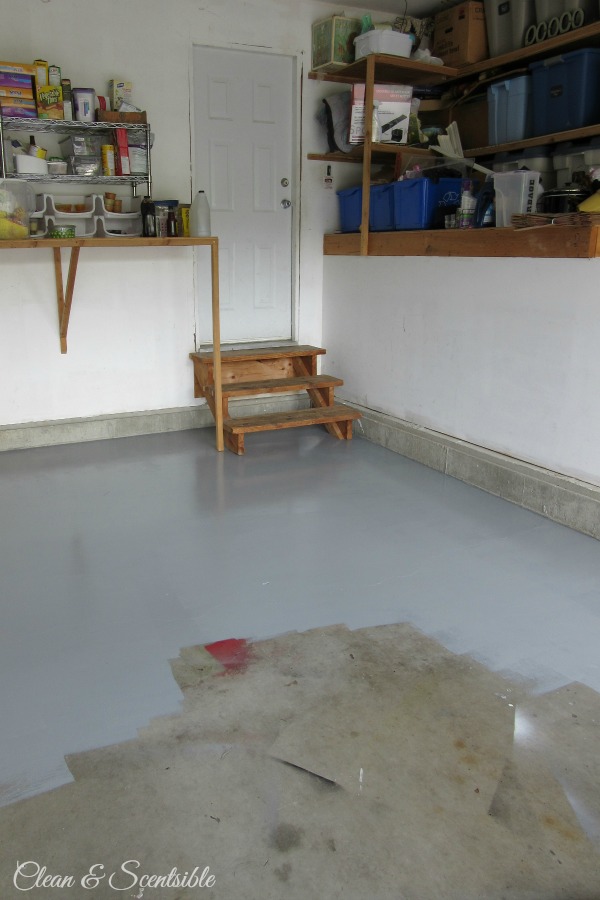
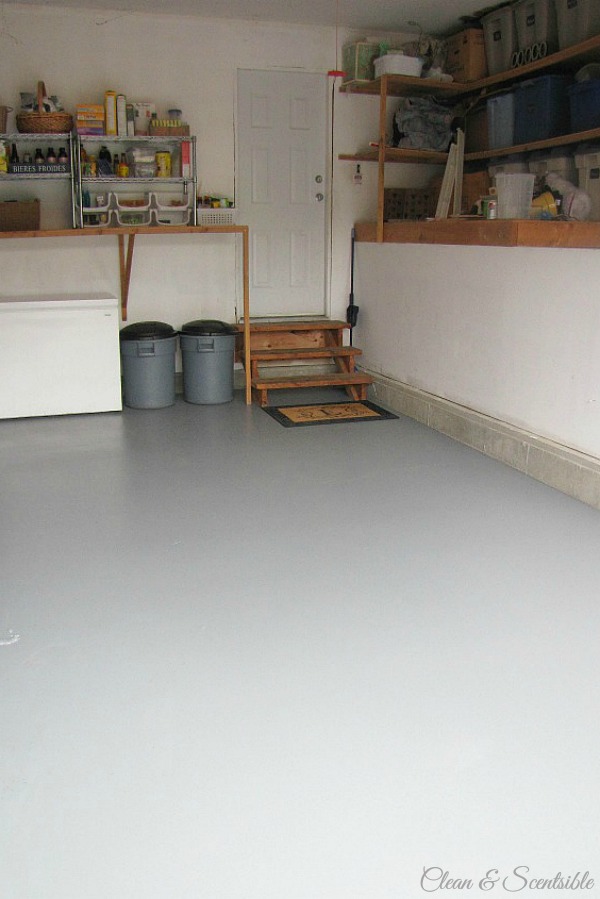
It made SUCH a difference and is definitely one of the easier DIY projects out there!
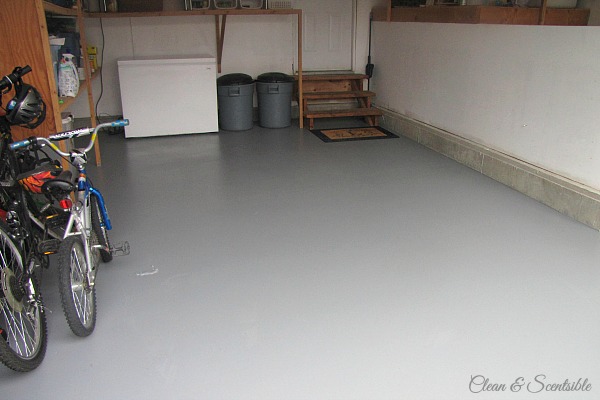
Obviously there is still a lot to do in the rest of the garage, but just painting it made it look so much cleaner! We were very happy with the end result – and now we can actually see our floor!
Don’t forget to follow along for the rest of the garage reveal and more garage organization and cleaning tips! You can find some of my inspiration here…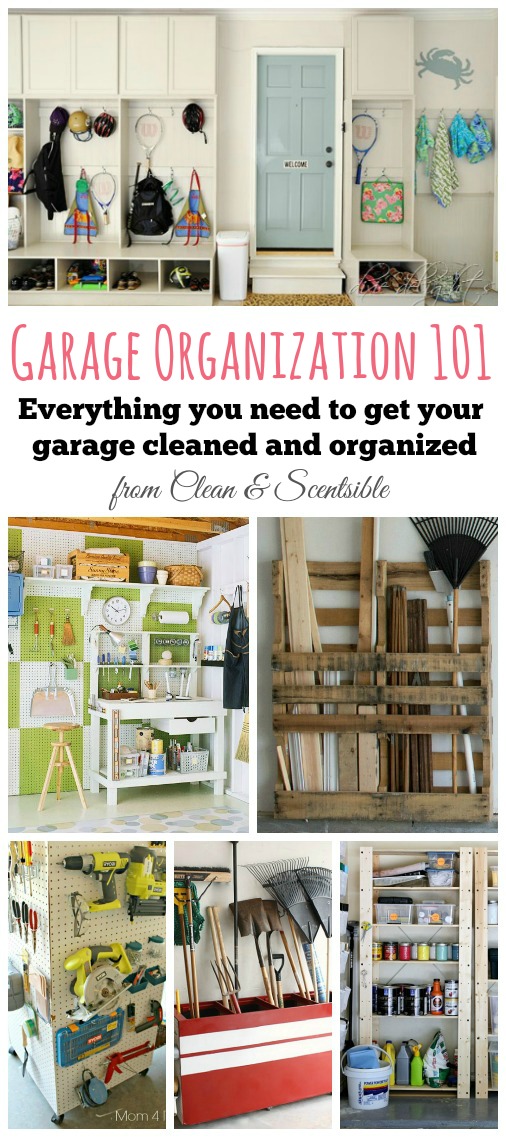
How to Organize the Garage
This post is part of my DIY Behr Expert Painting series. Look for a new painting project each month!![]()
Haven’t heard of the Household Organization Diet yet? Start with this post HERE and find all of the past projects over on my Pinterest Board. You can find the past month’s To Do lists here…
January – The 30 Day Detox
February – How to Clean and Organize the Kitchen
March – How to Clean and Organize the Laundry Room and Front Entry
April – How to Clean and Organize the Bathroom
June – How to Clean and Organize Outdoor Spaces
July – How to Clean and Organize the Garage
Happy Organizing!